
DIY Wrap
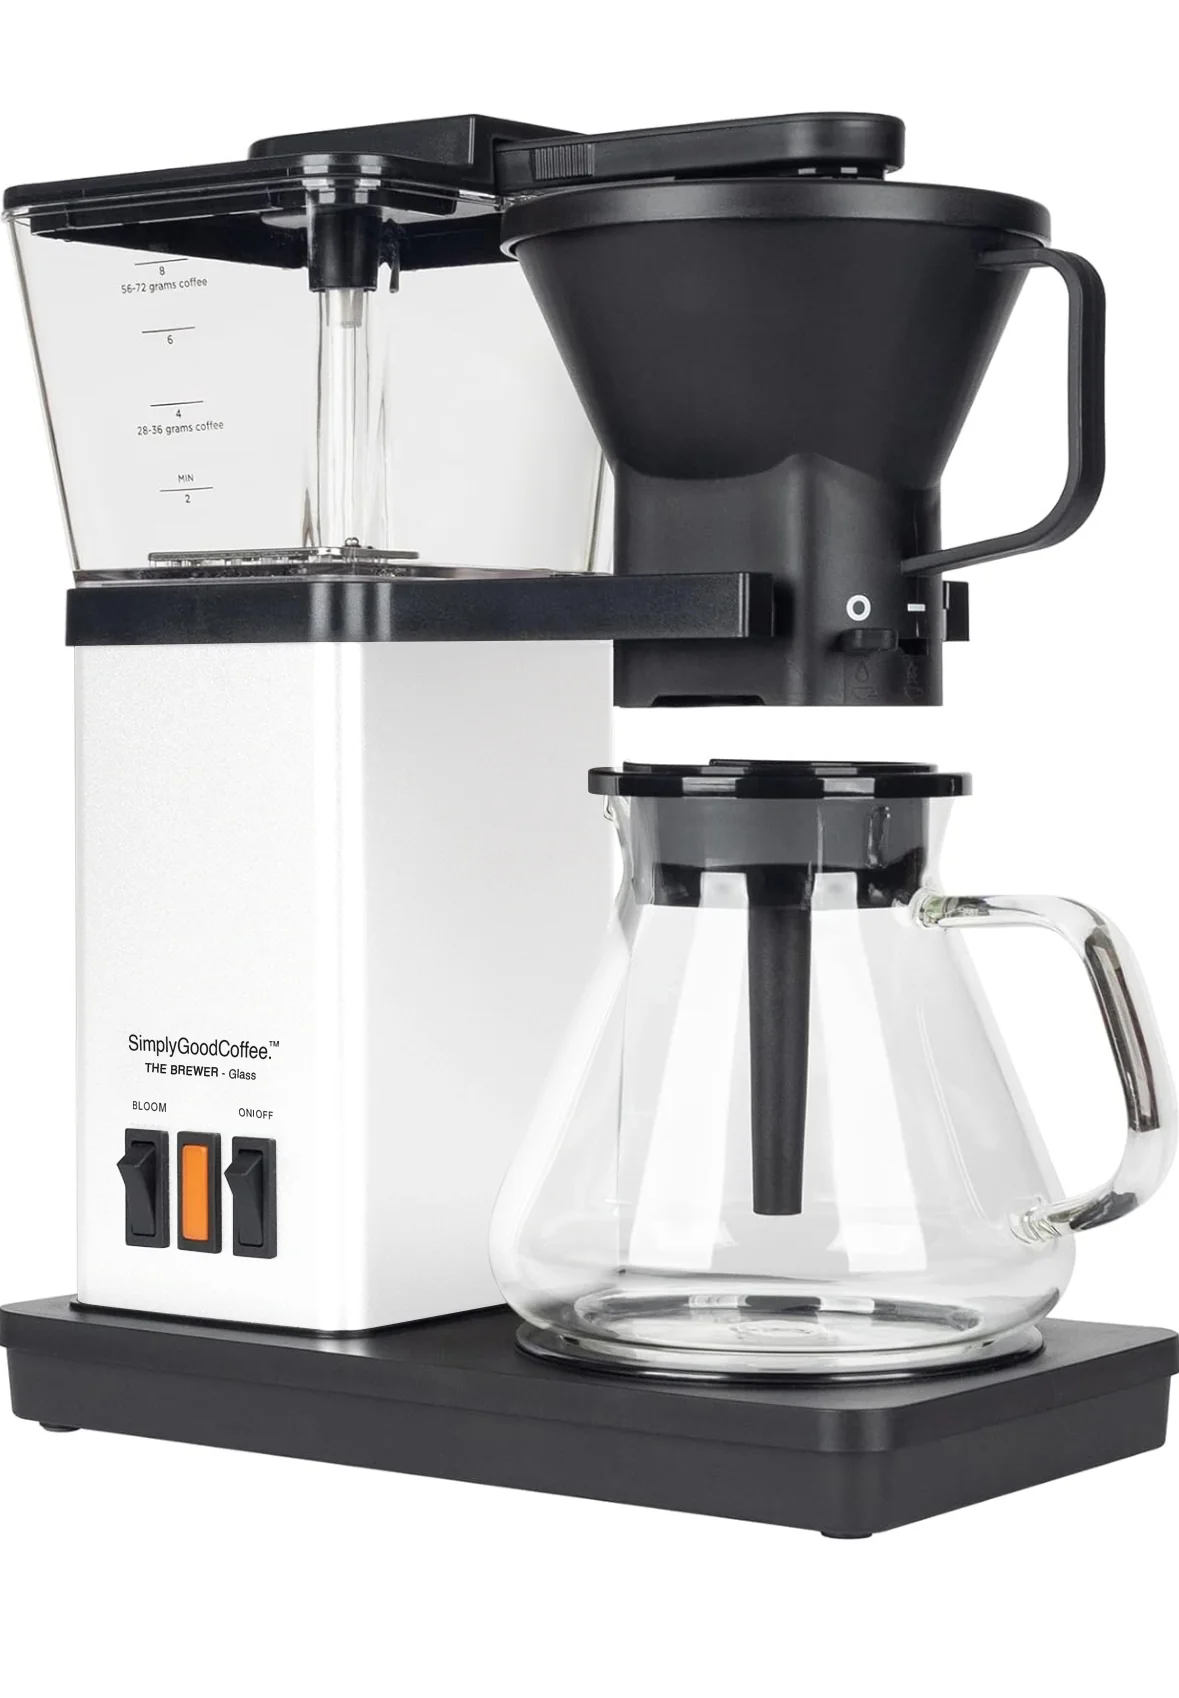
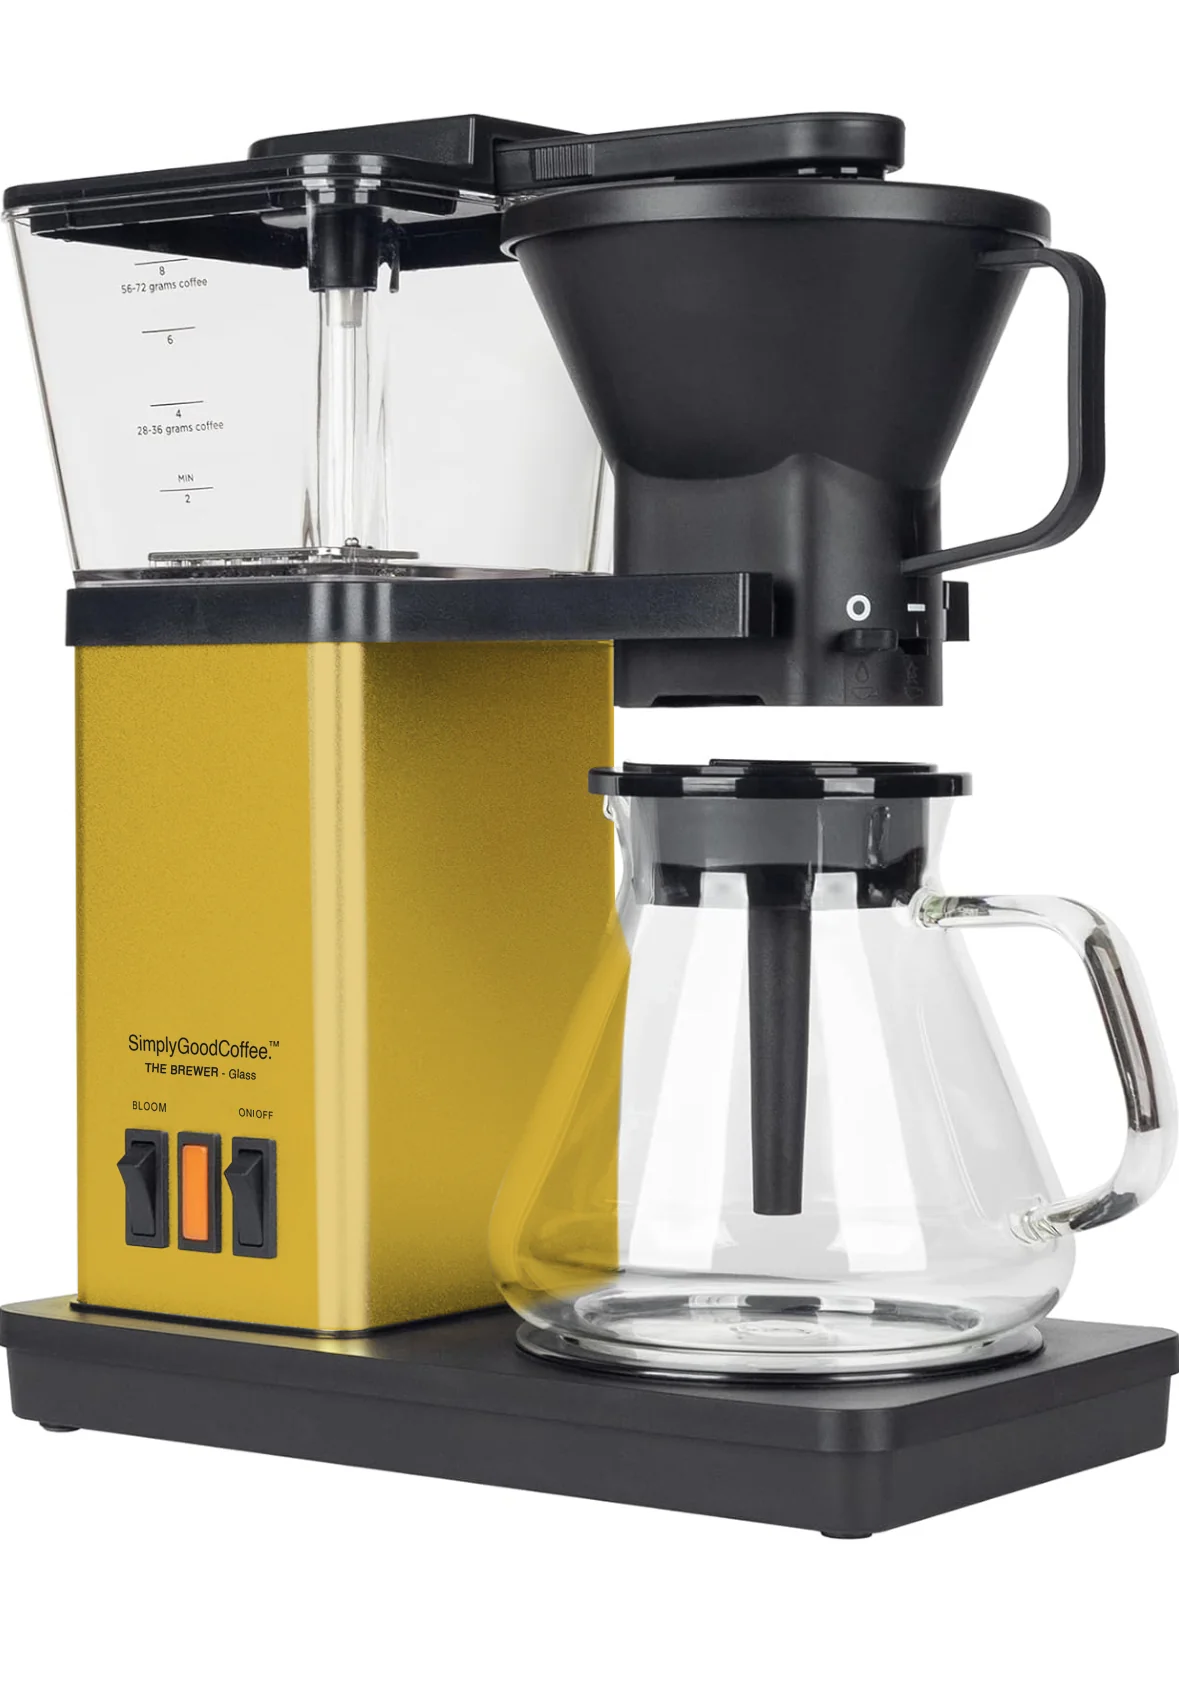
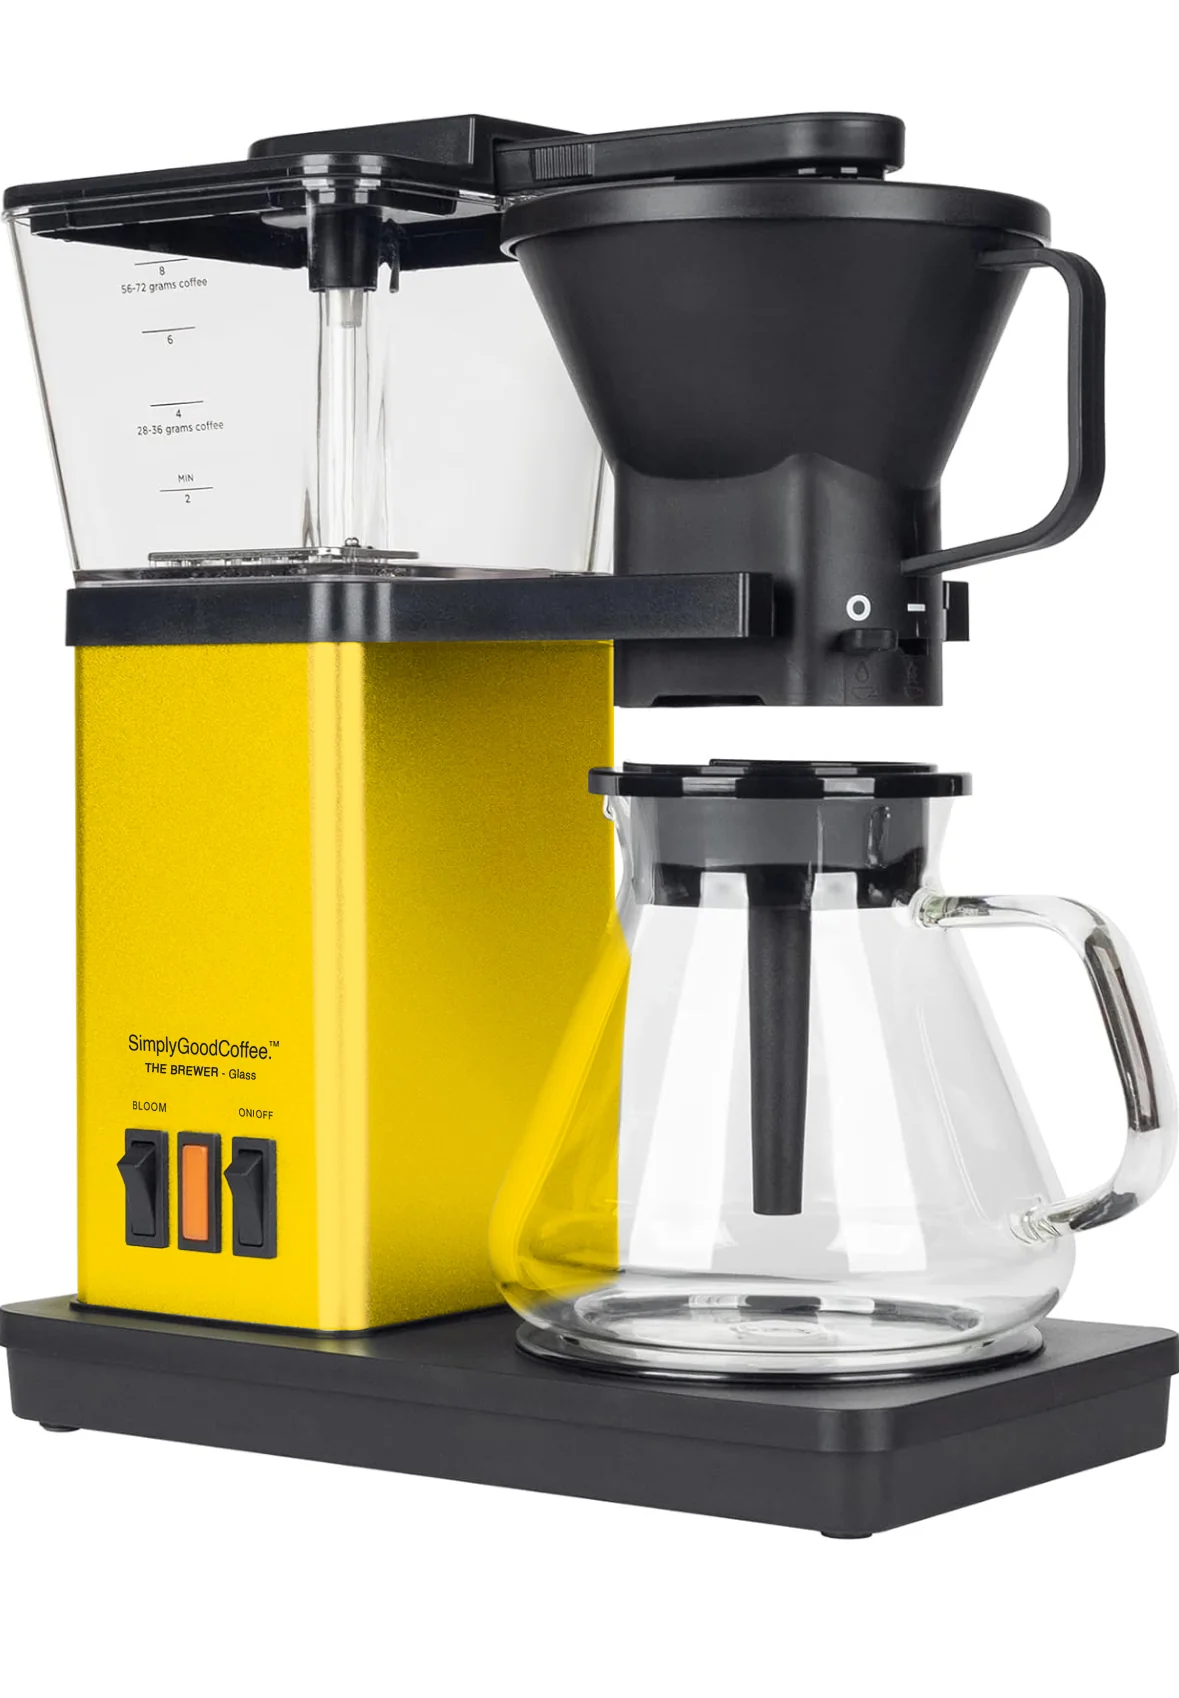
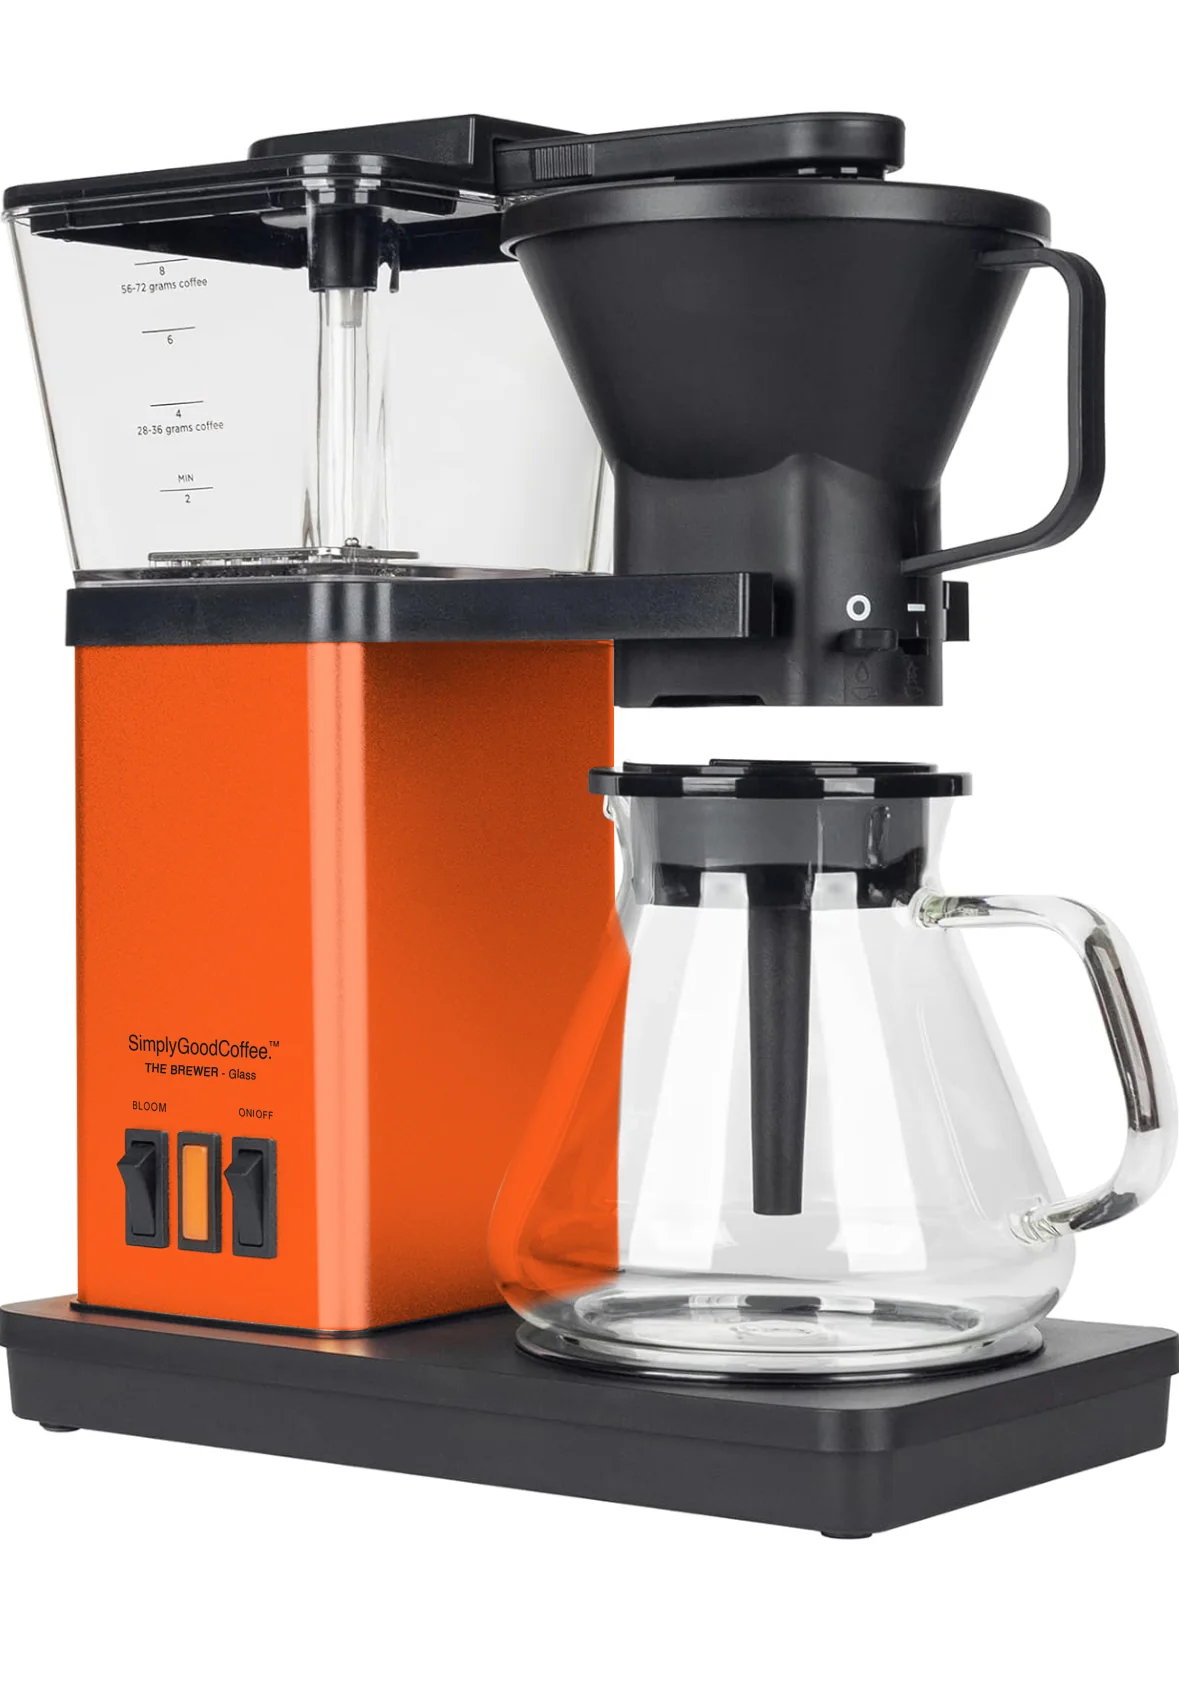
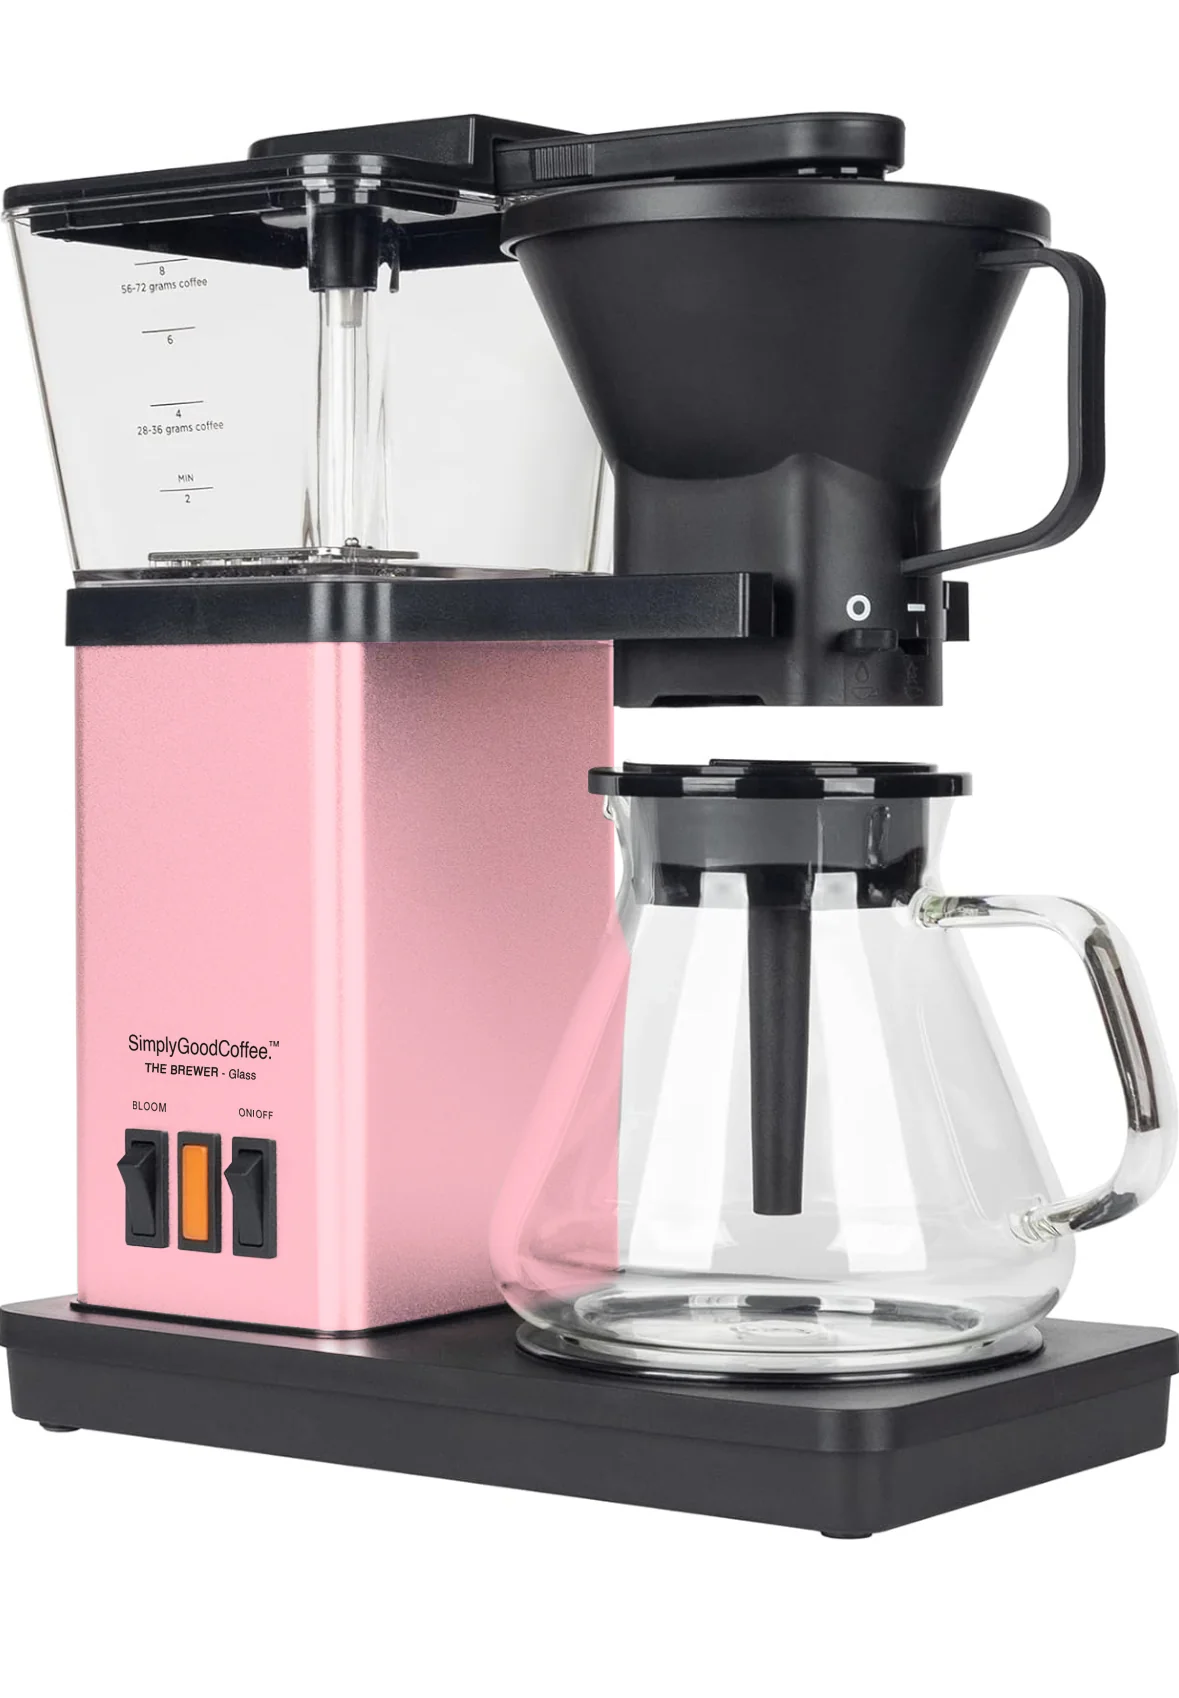
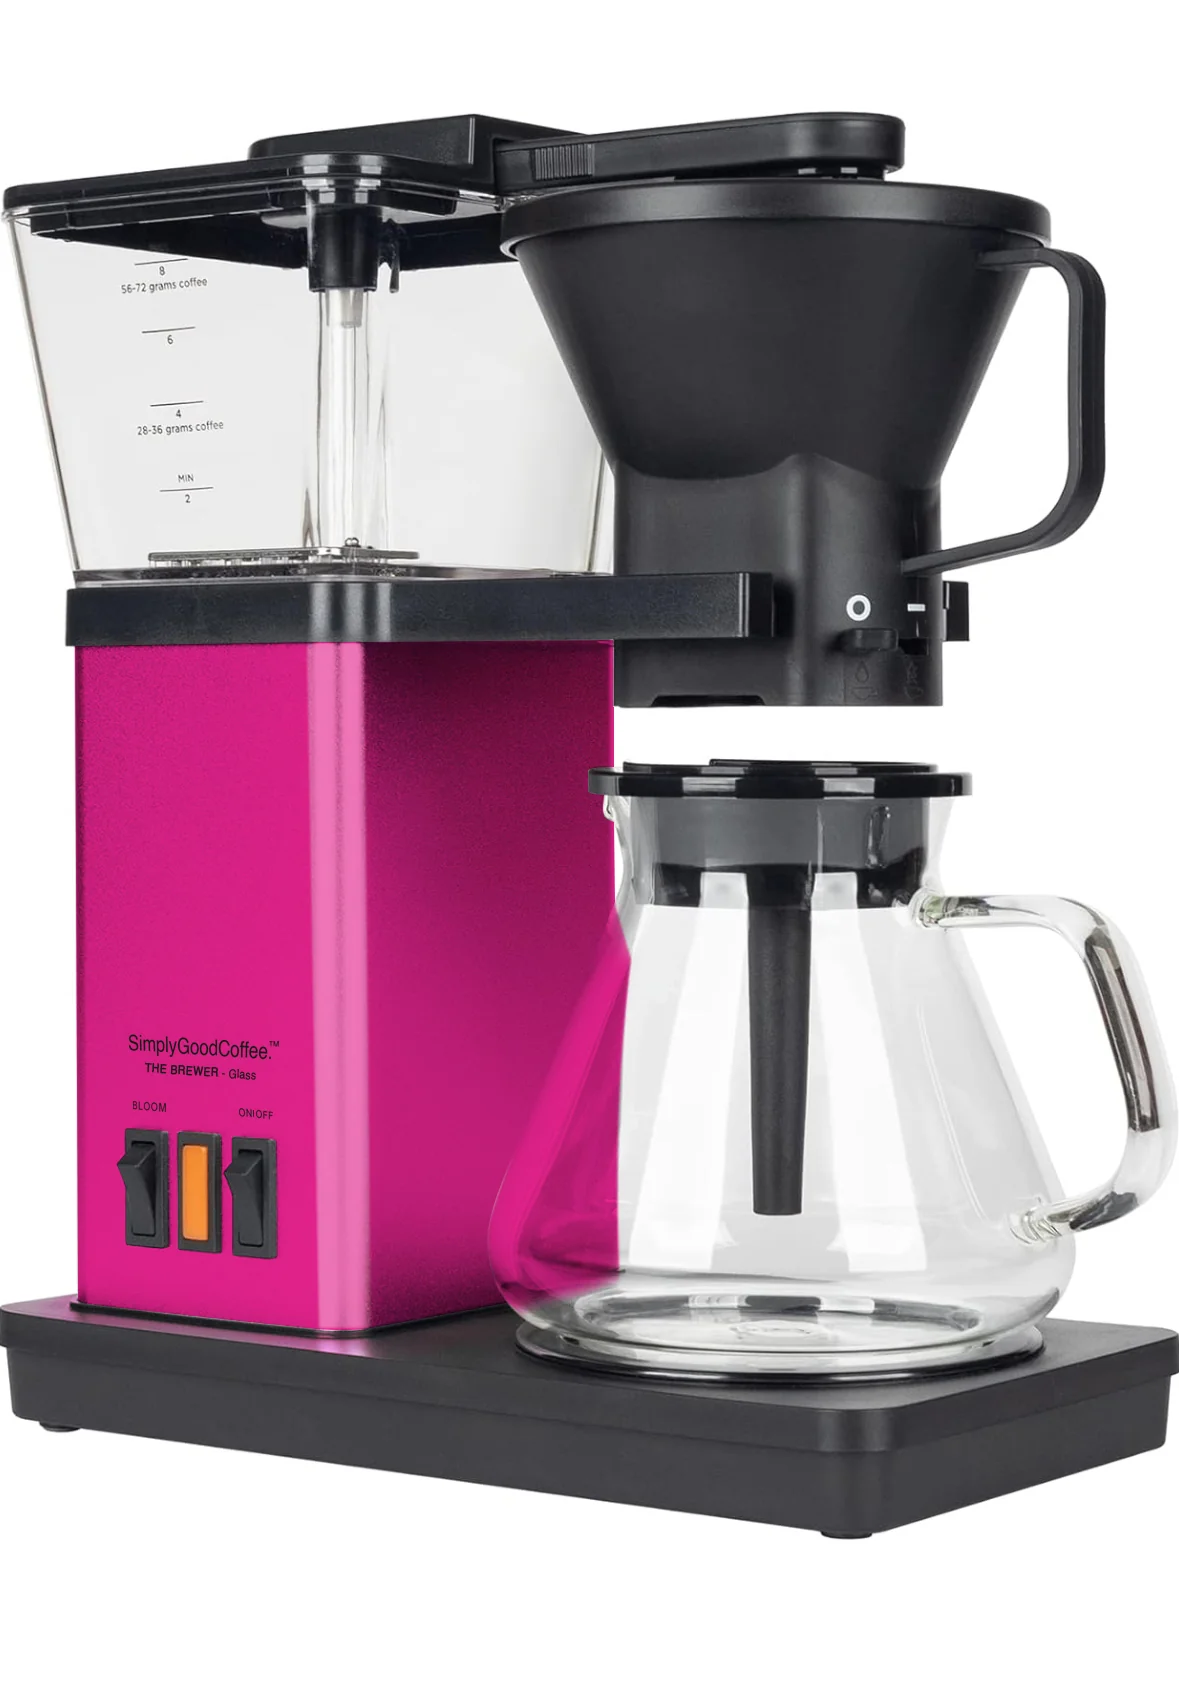
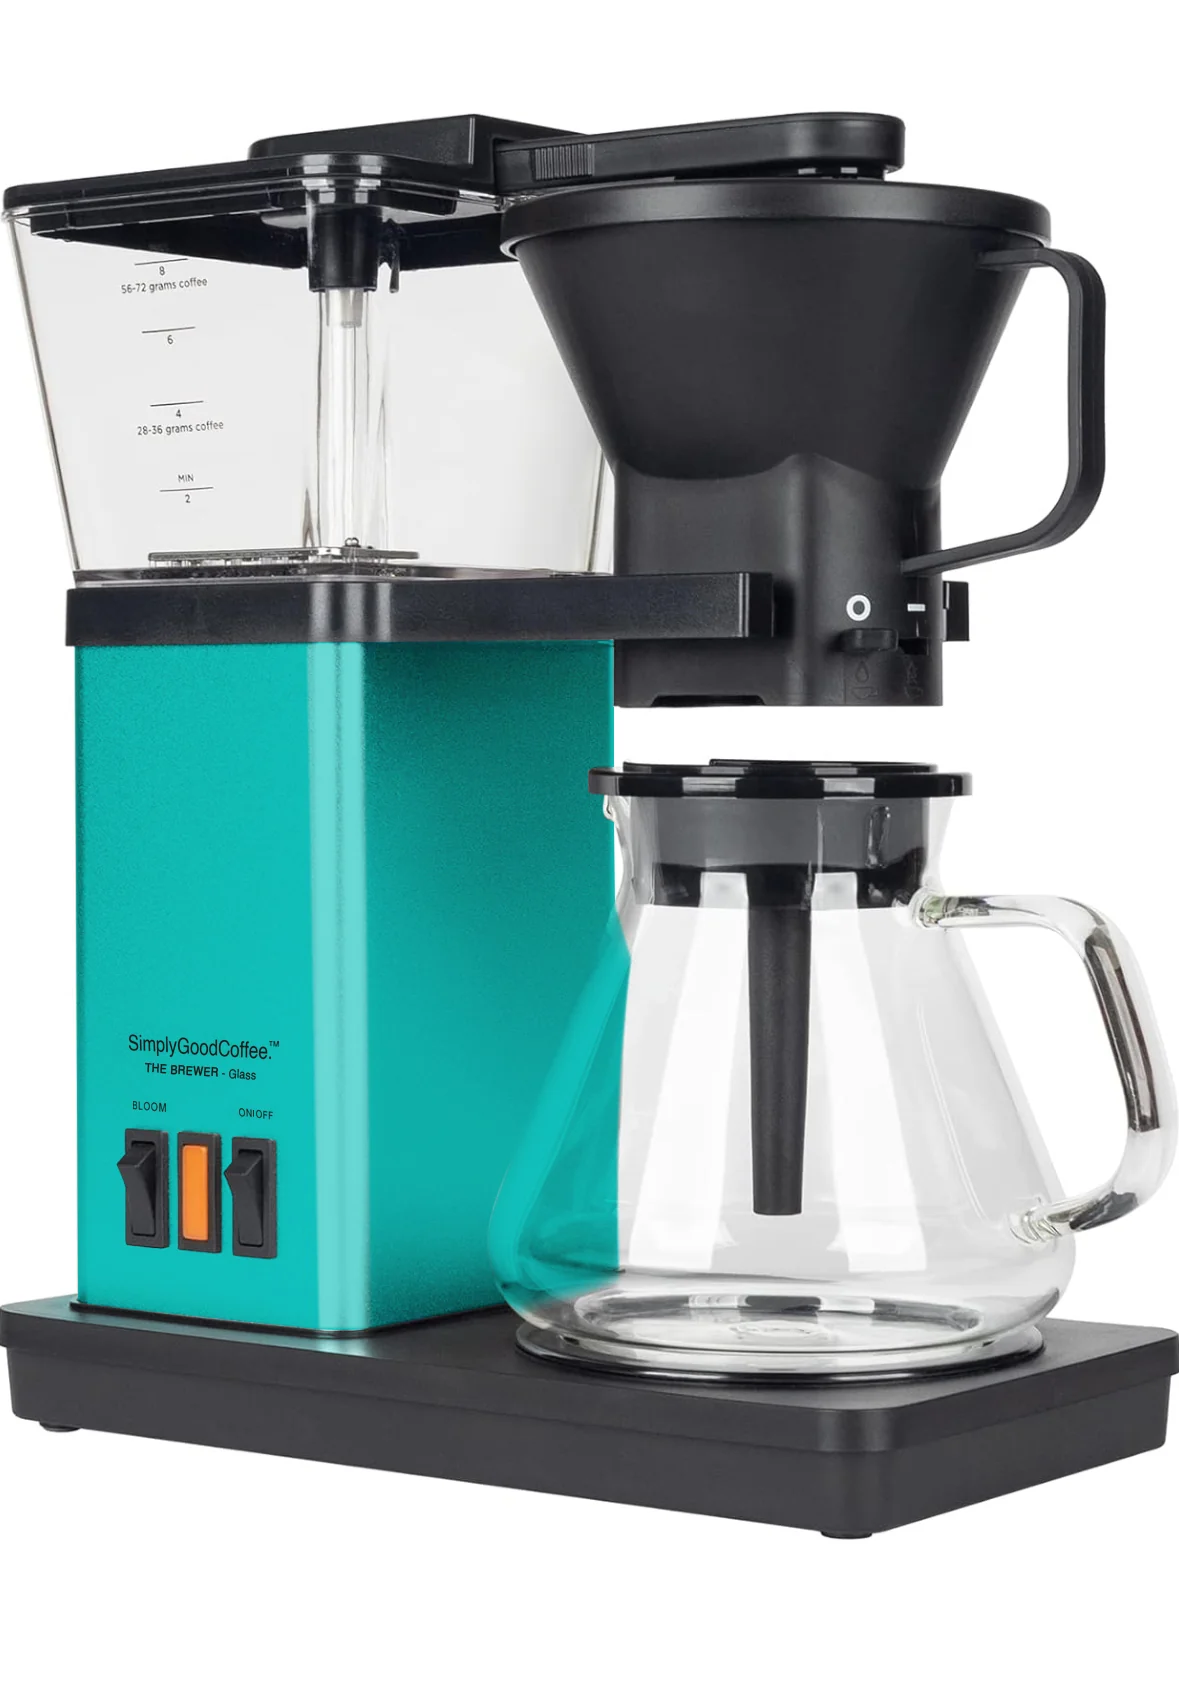
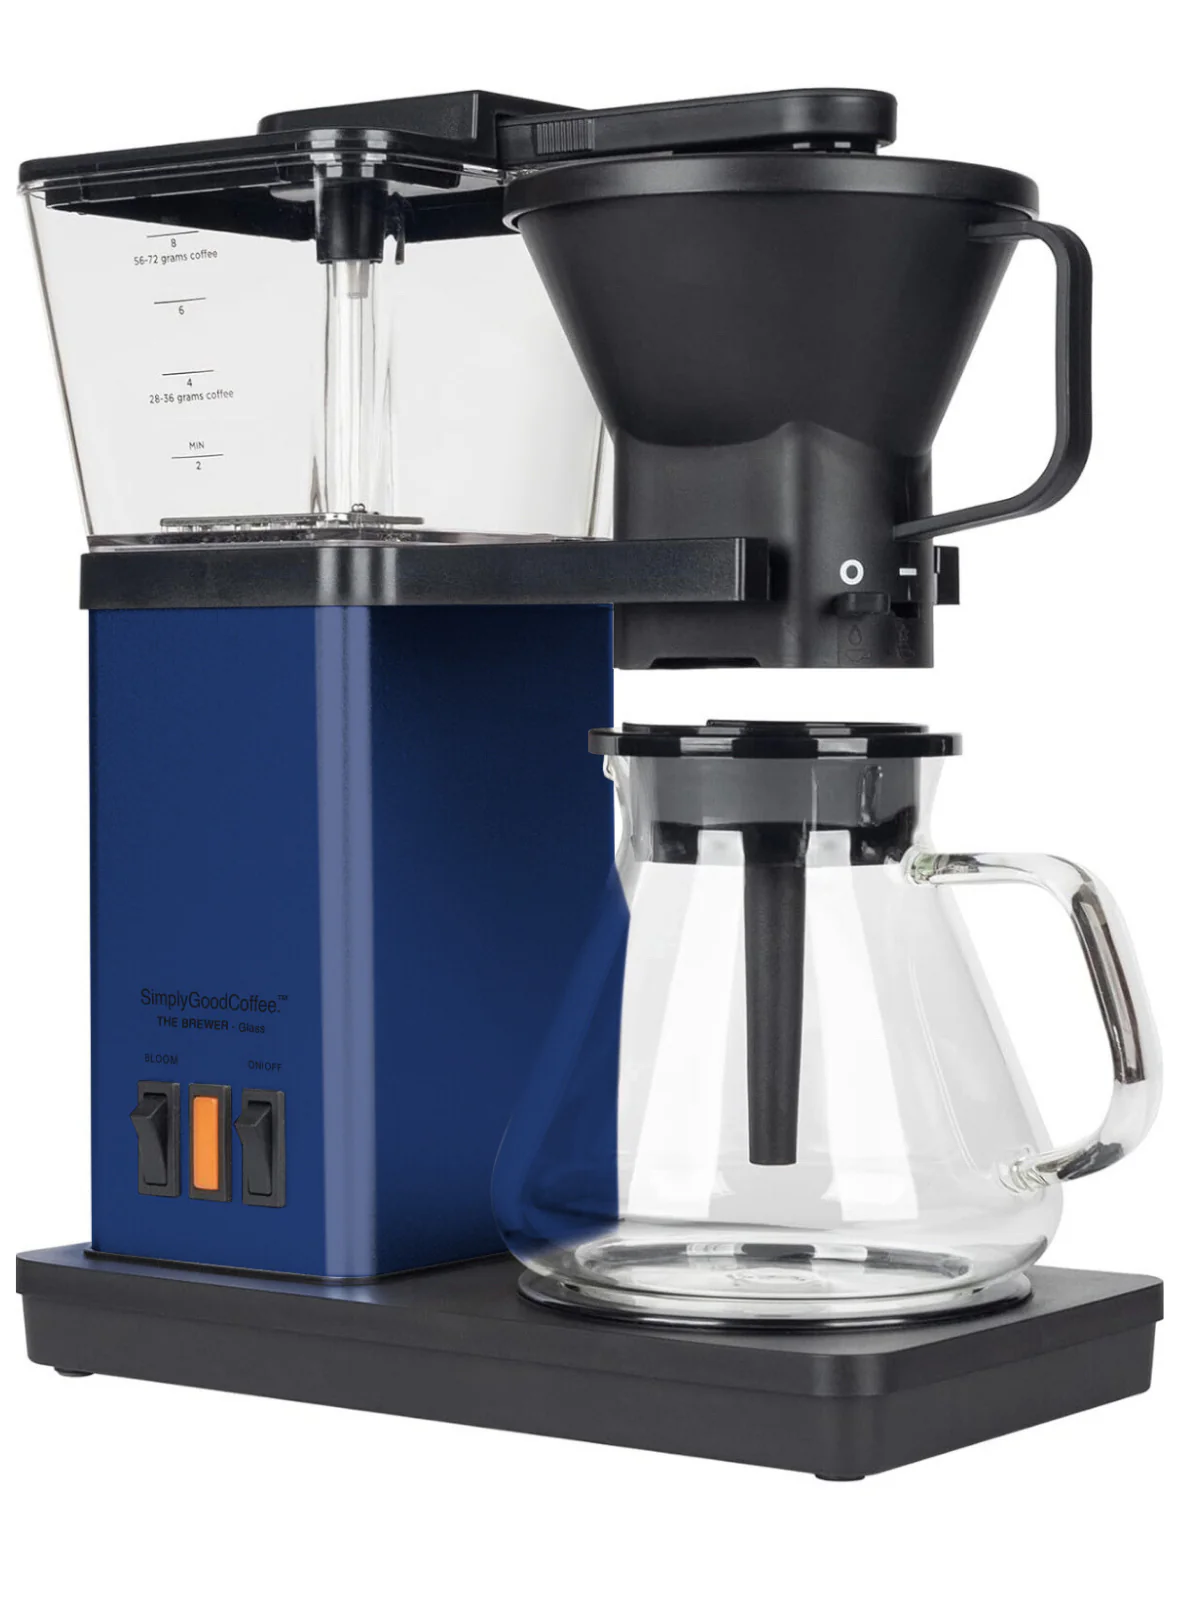
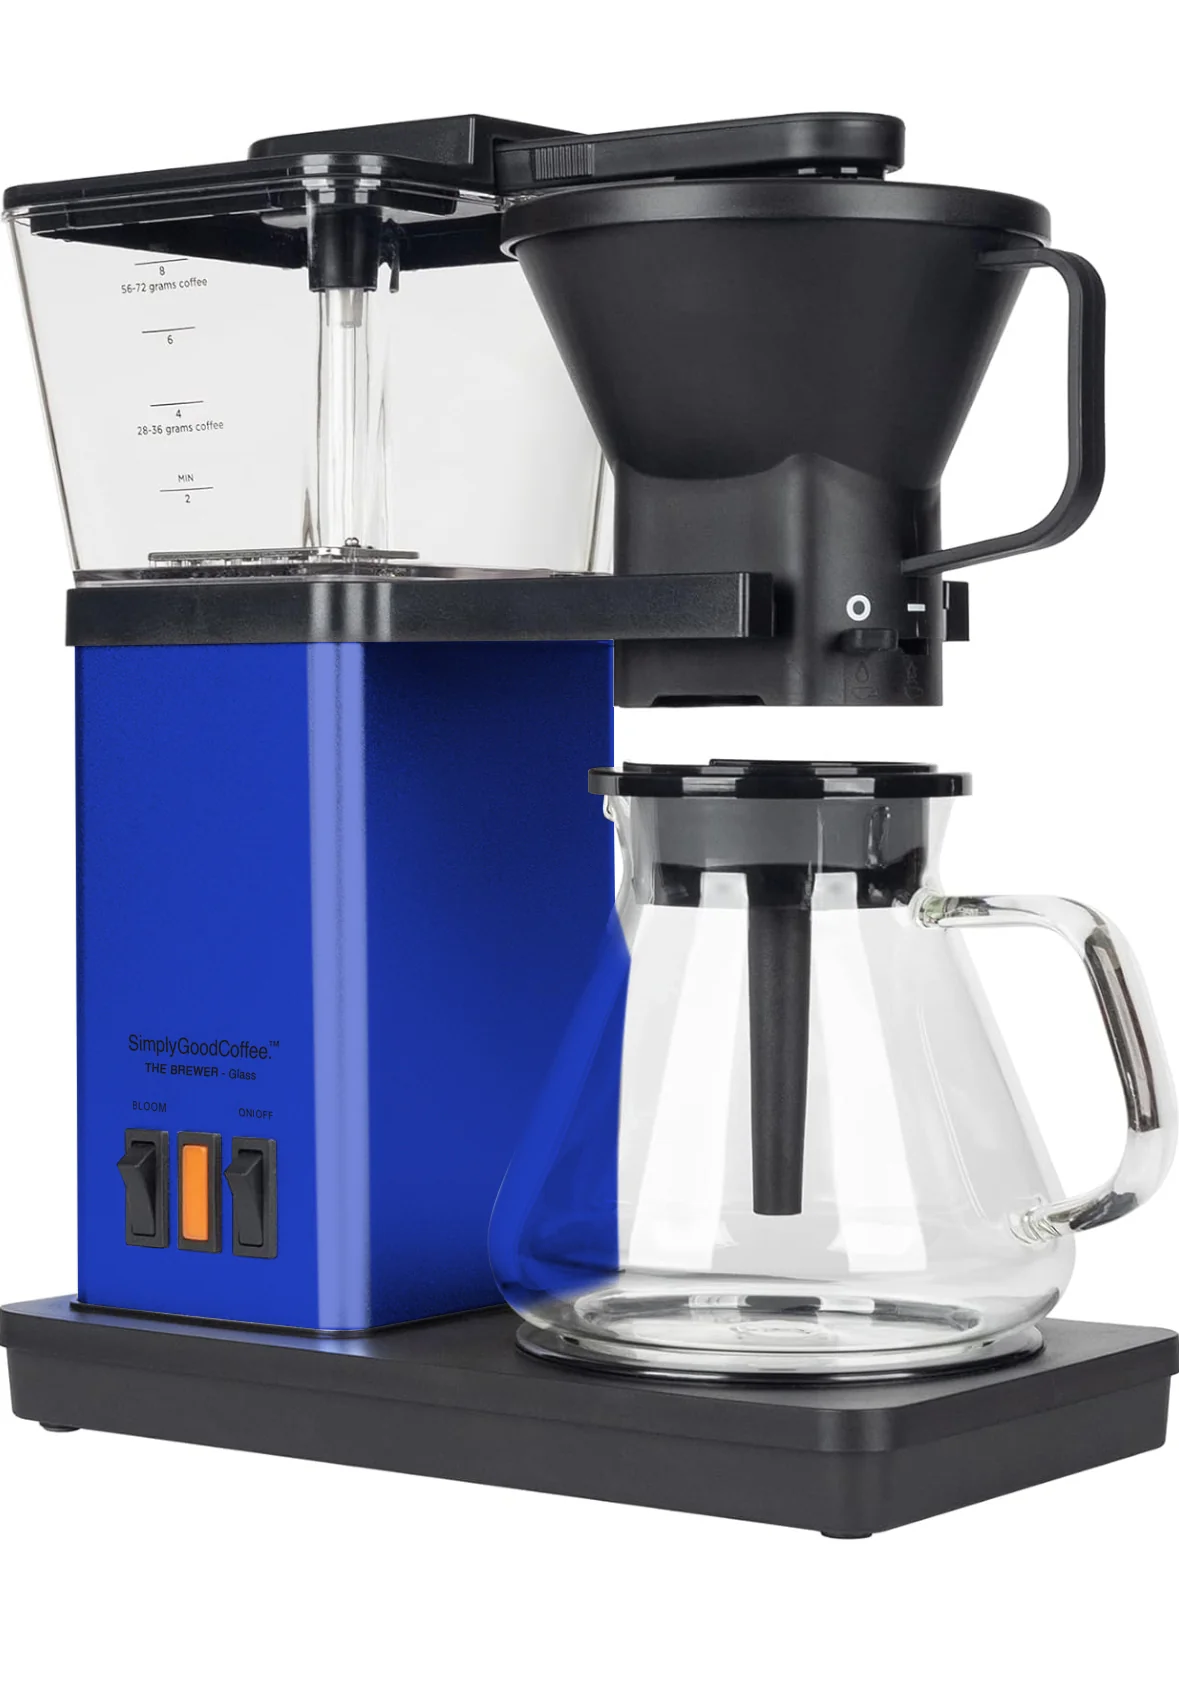
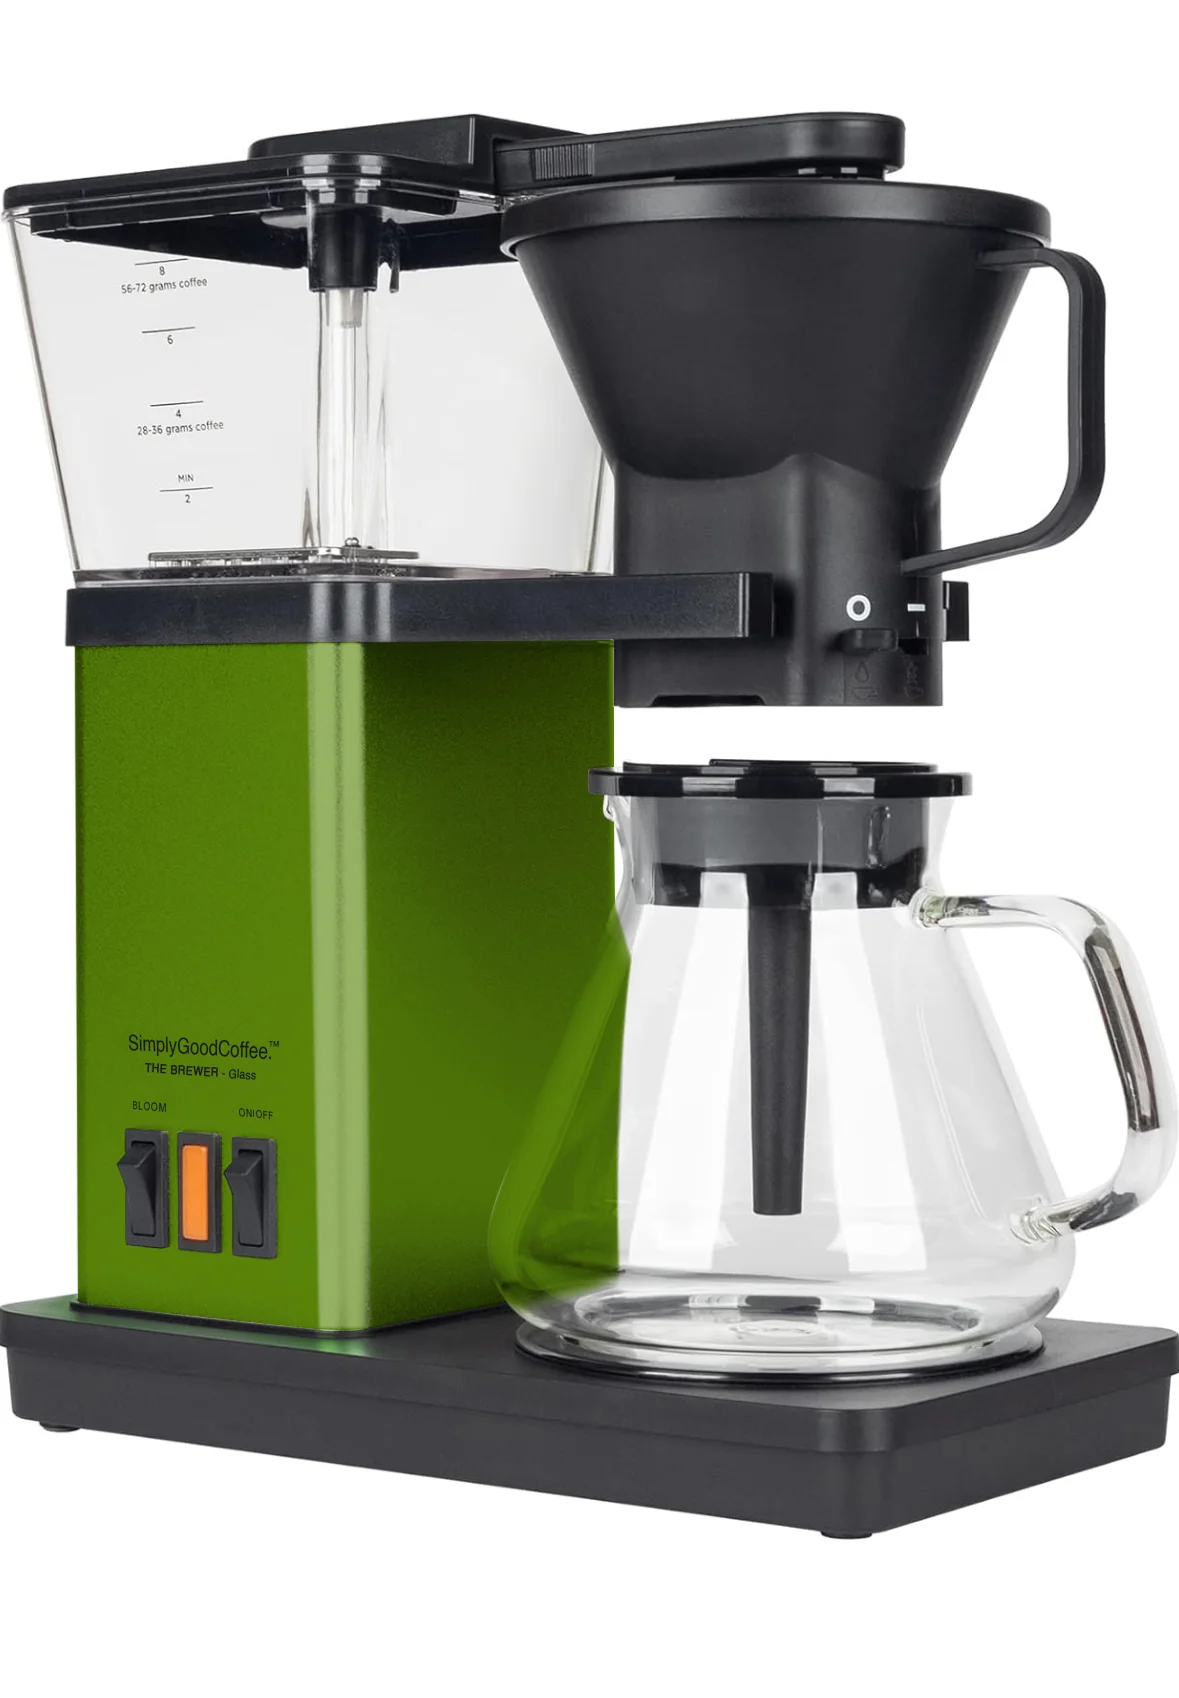
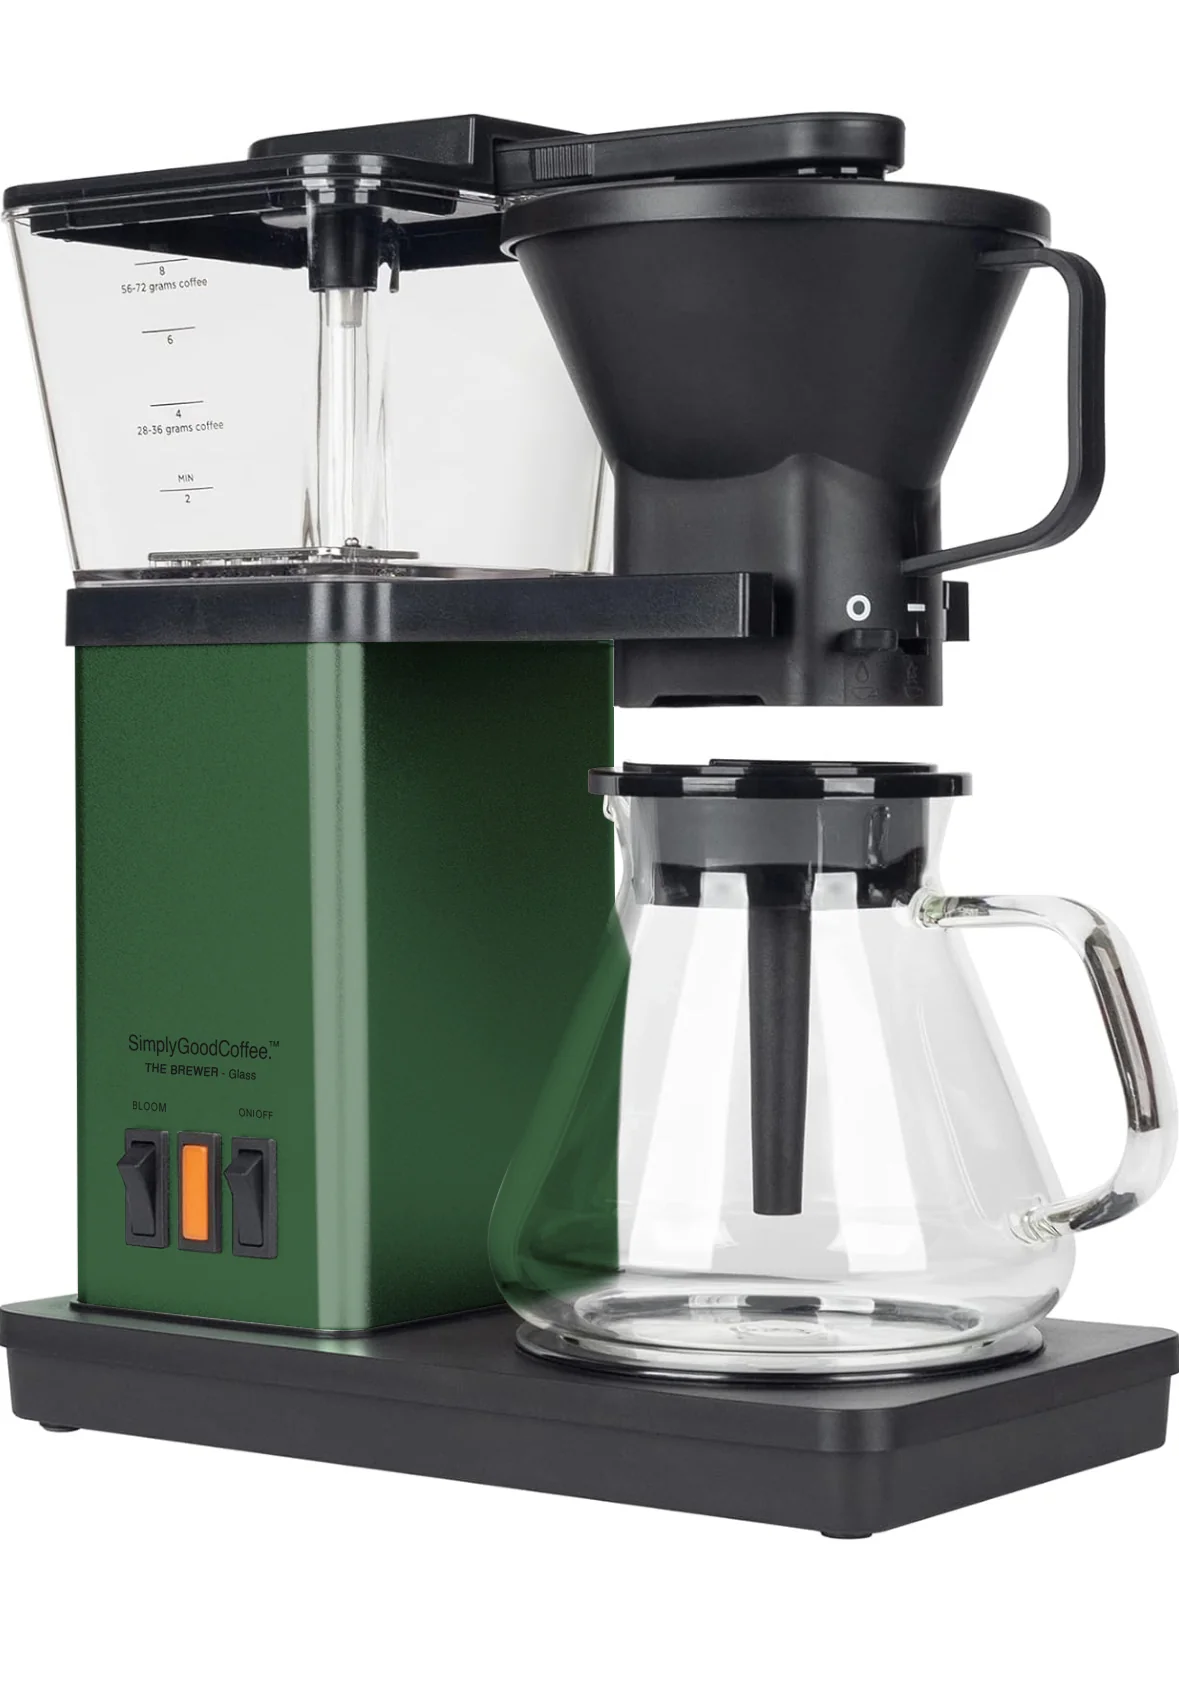
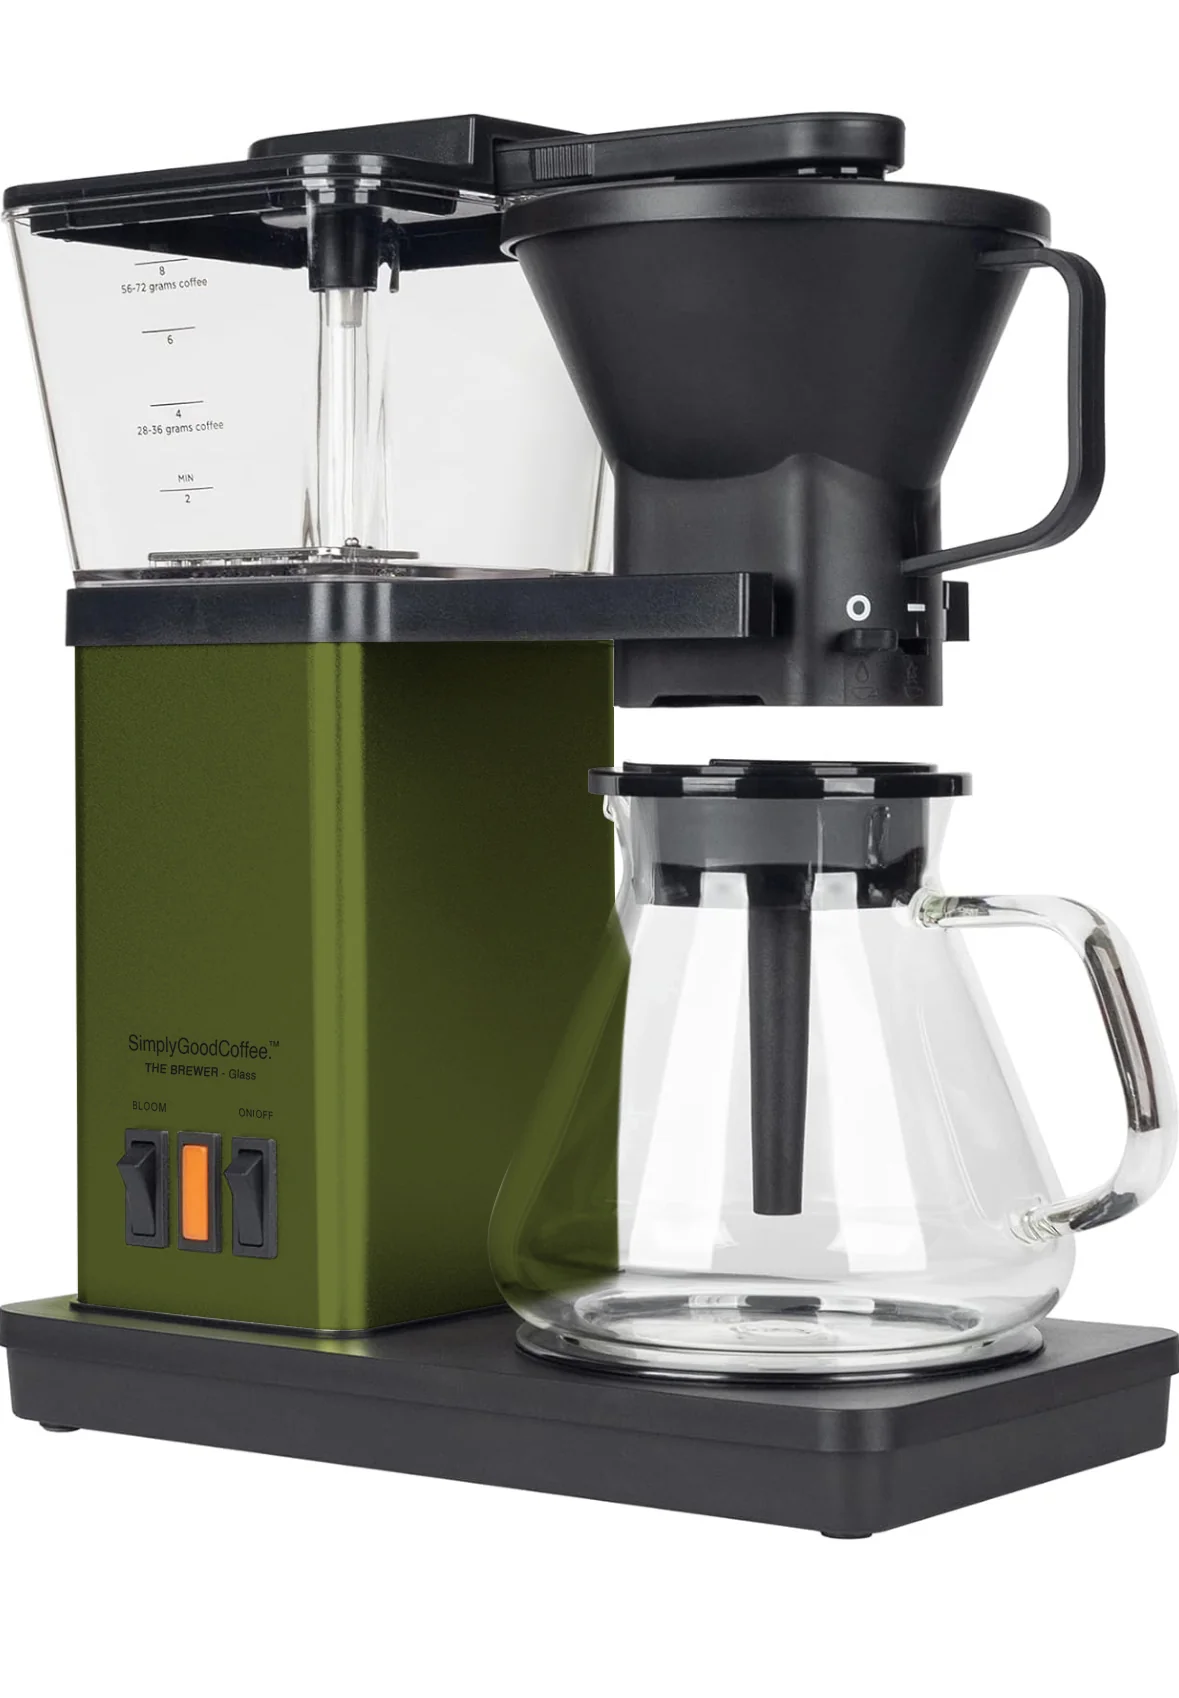
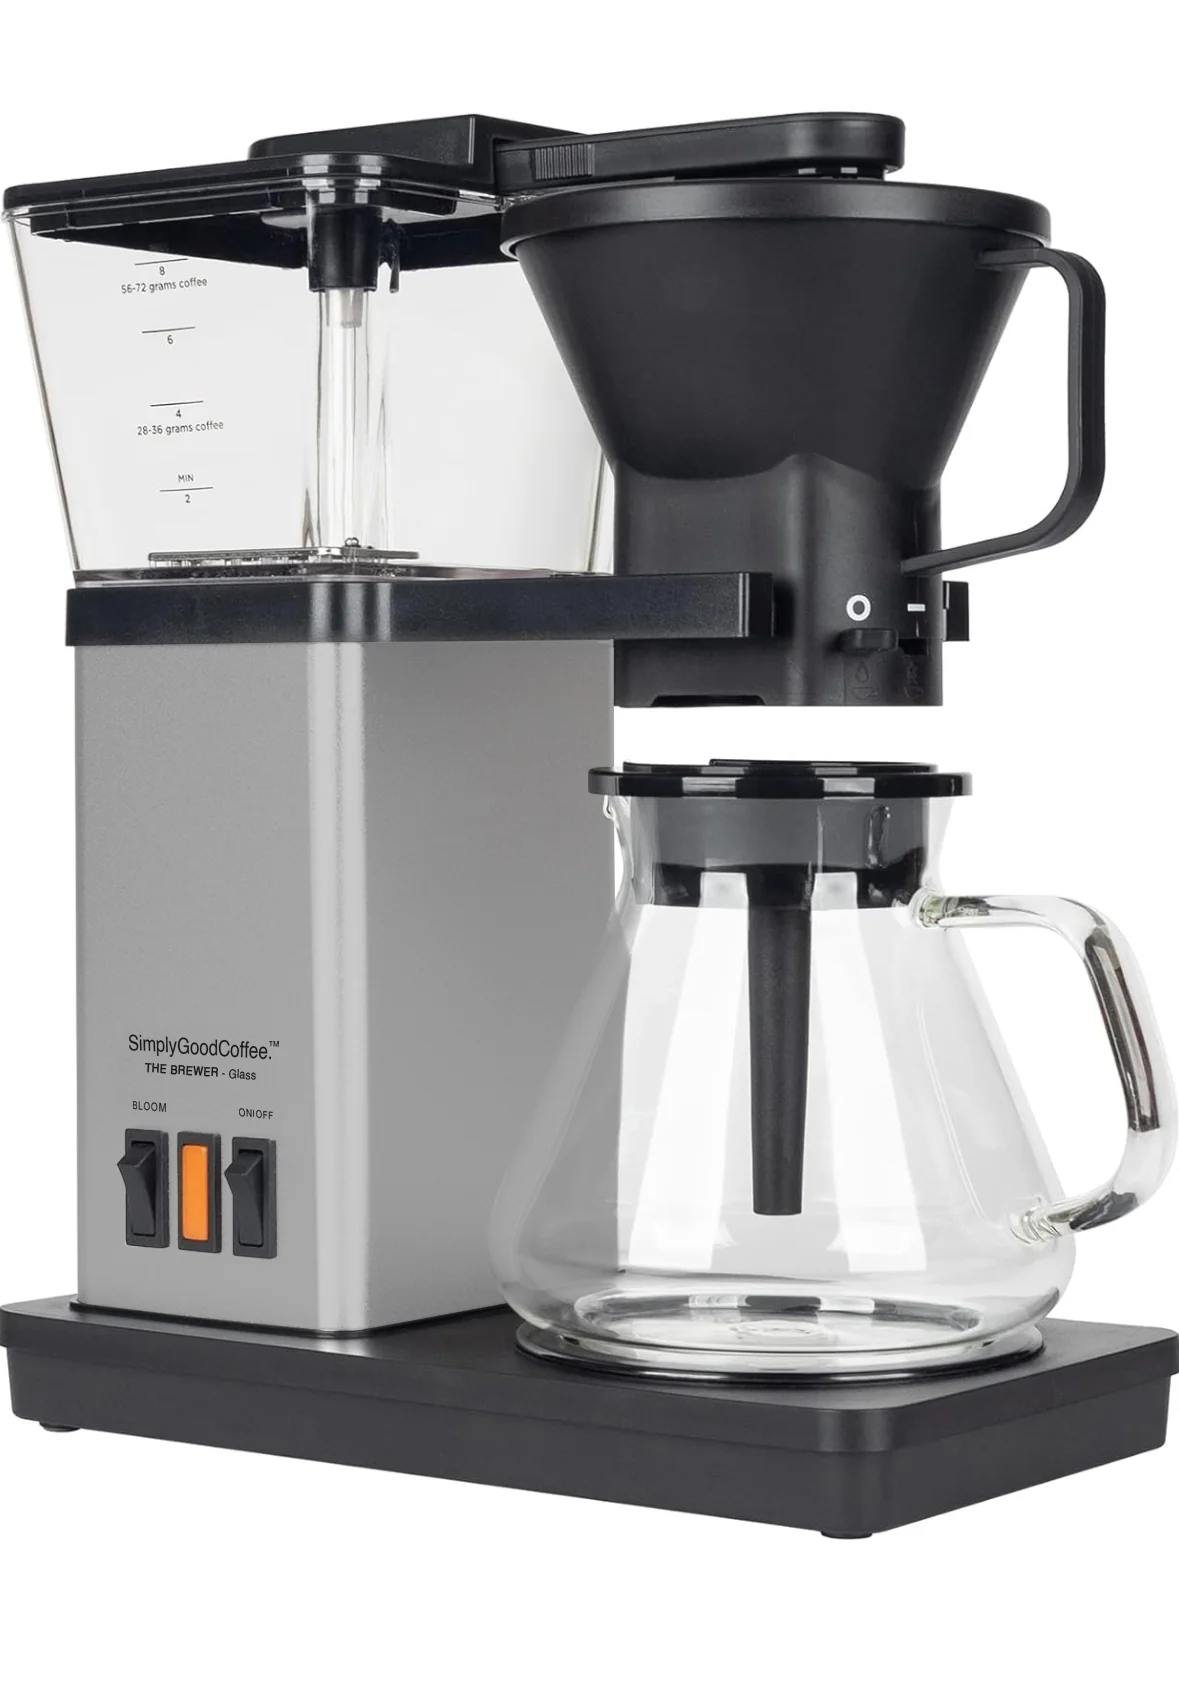
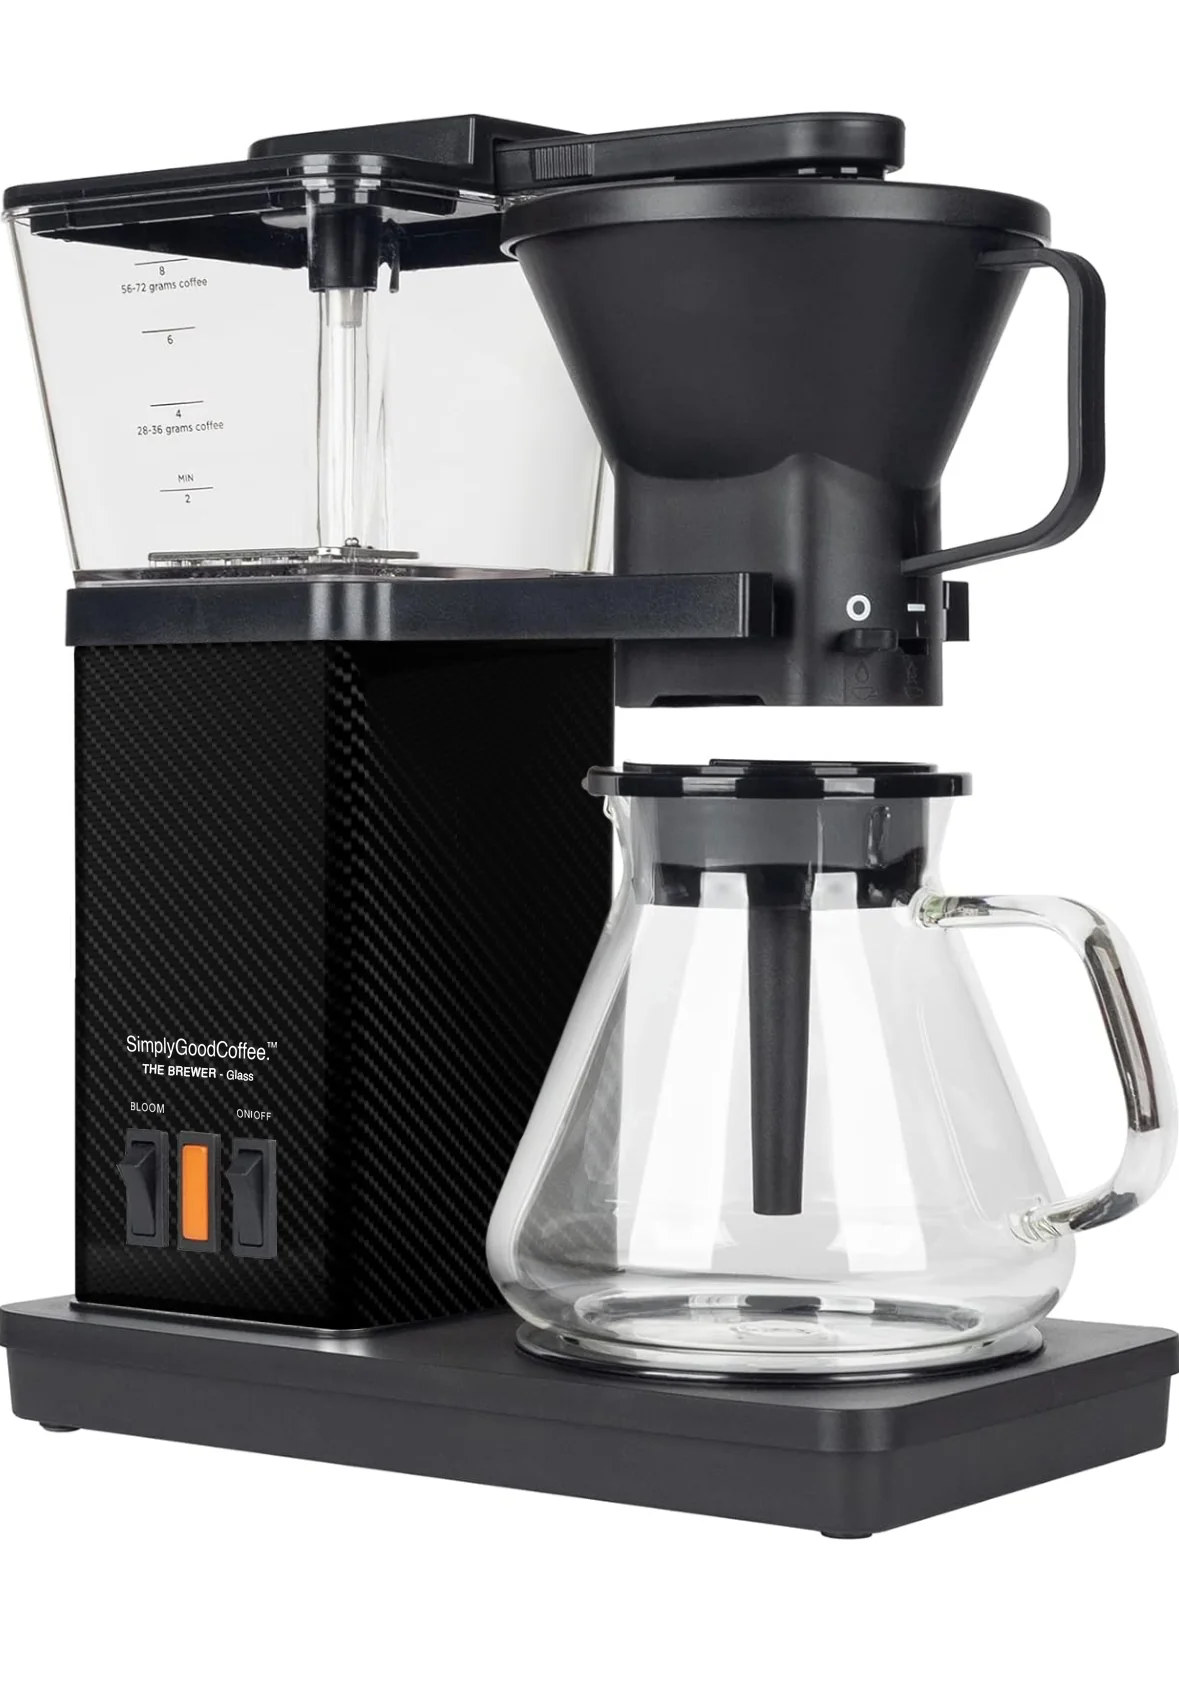
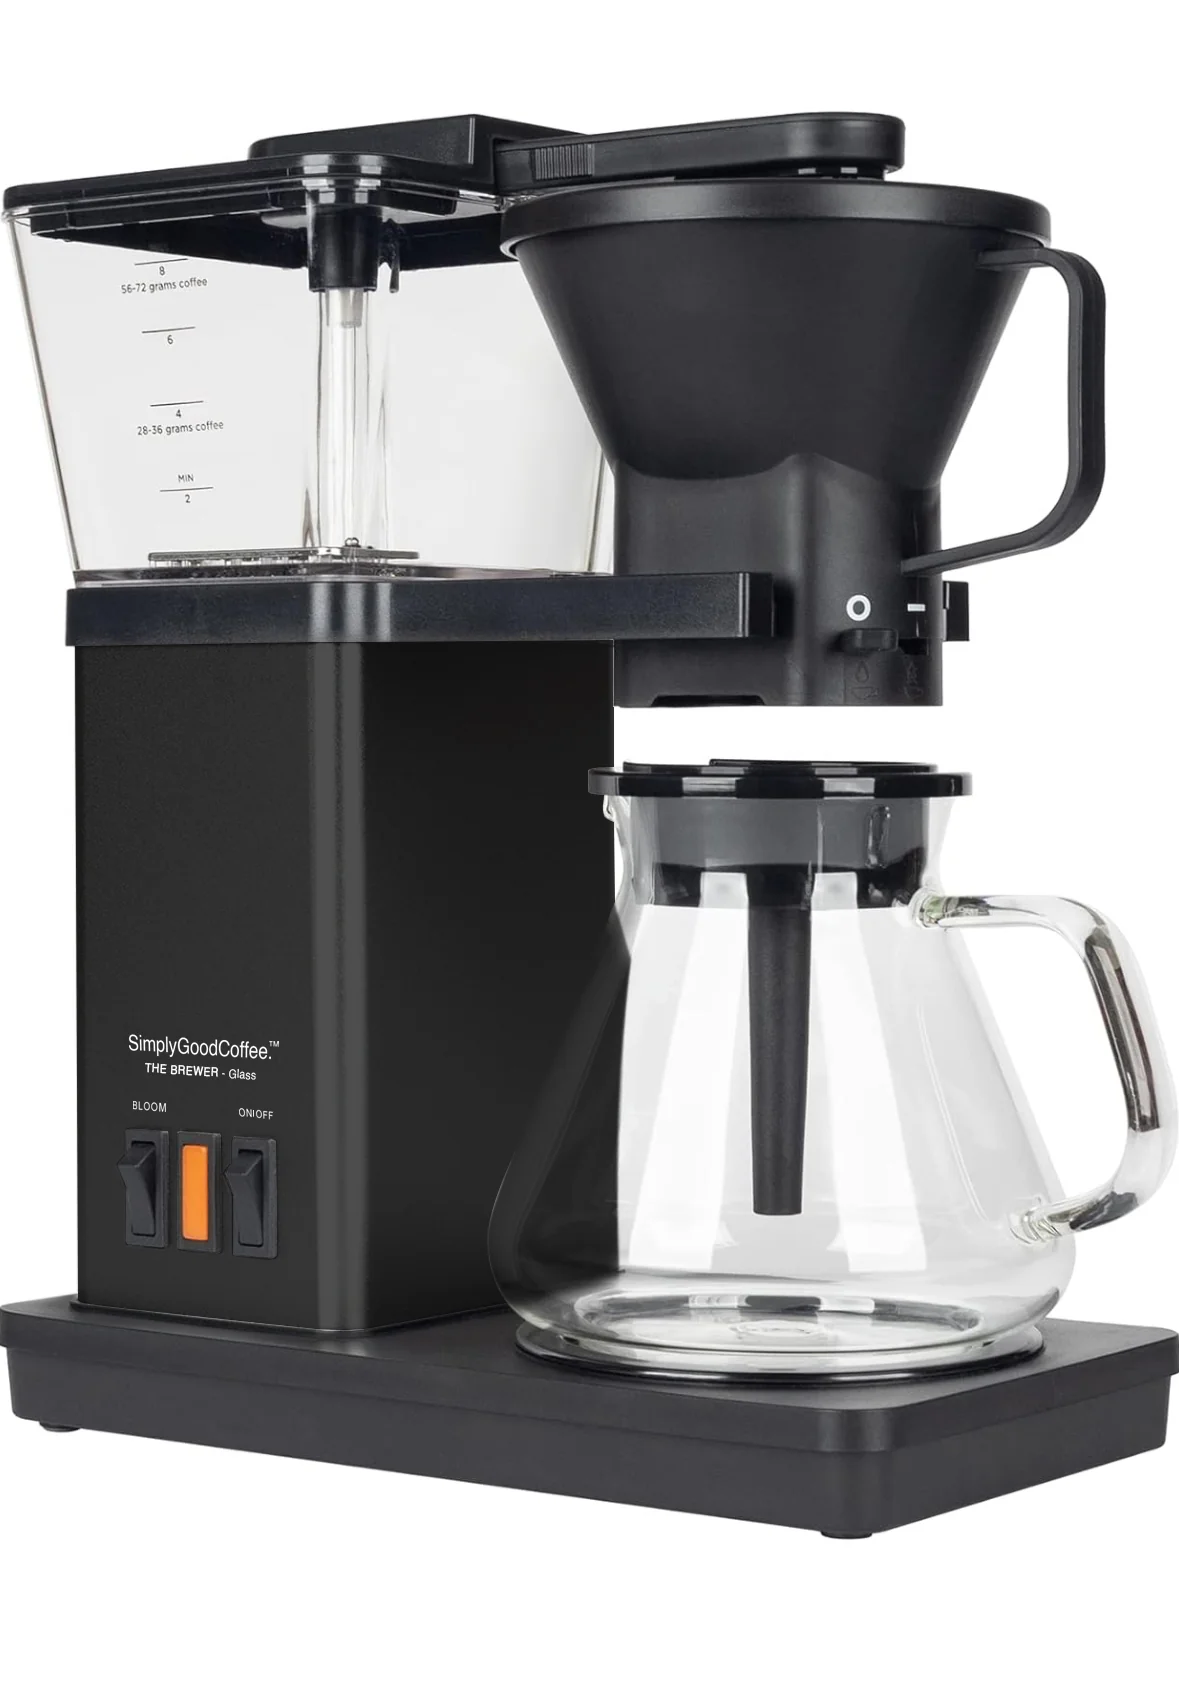
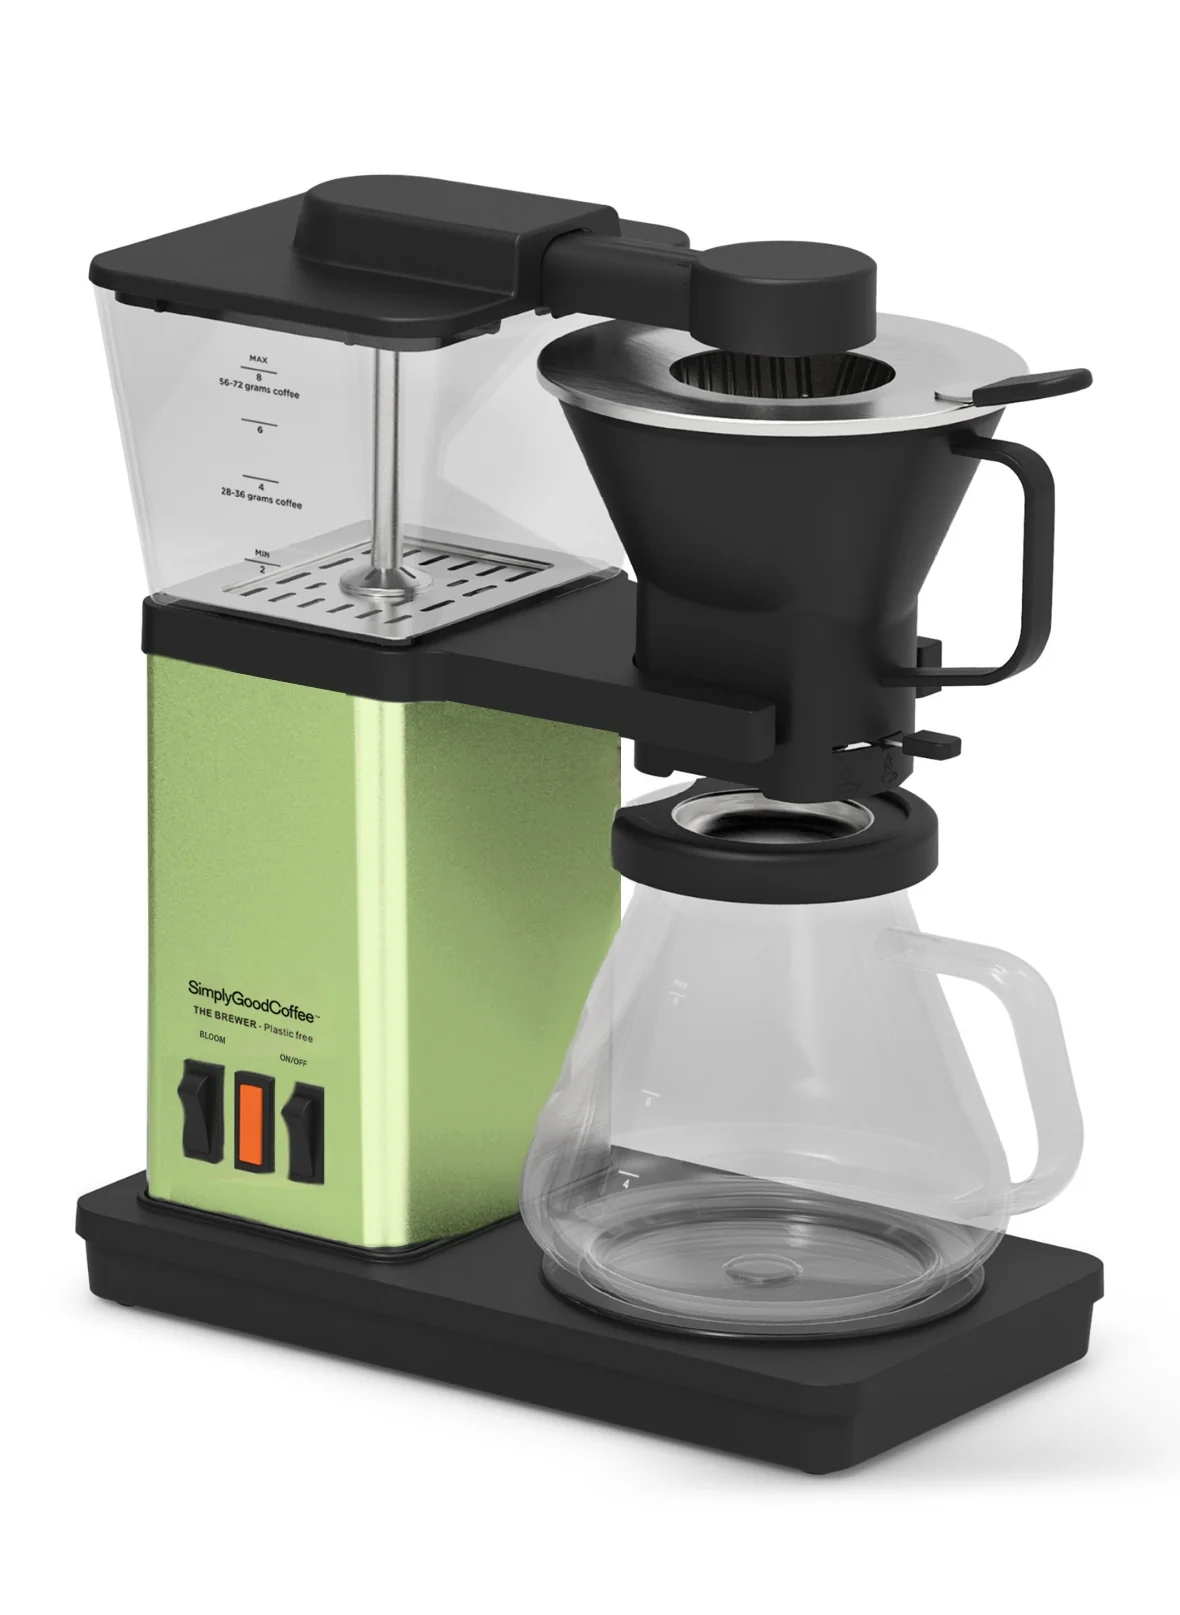
CUSTOMIZE YOUR BREWER: Simply Good Coffee color wraps are pre-cut to size, require no water and are automotive quality vinyl in designer colors. The wraps fit all three models: THE BREWER - Glass, THE BREWER - Thermal and THE BREWER - Plastic-free.
Choose your color and give your coffee machine an upgrade from the comfort of your home.
PREMIUM MATERIALS: Made with durable automotive quality vinyl that will withstand daily use. You can imagine that since the material is designed to withstand the road and debris, even at 80MPH, it will last a lifetime in your kitchen!
HOW TO APPLY: Wipe the surface of your brewer clean and dry, especially removing grease and residue prior to applying the DIY wrap. Peel the protective backing revealing the sticky side and match the square hole for the switches carefully aligning the bottom with the bottom of the brewer tower. Apply the vinyl slowly, forcing the air out, moving from the bottom to the top, and then do the sides and the back. There is a special Grommet that fits neatly around the switches, and you are done. There is no cutting, no water and there are complete instructions included, here:
Wrap - Installation Instructions
Original: $29.95
-70%$29.95
$8.98Product Information
Product Information
Shipping & Returns
Shipping & Returns
Description
CUSTOMIZE YOUR BREWER: Simply Good Coffee color wraps are pre-cut to size, require no water and are automotive quality vinyl in designer colors. The wraps fit all three models: THE BREWER - Glass, THE BREWER - Thermal and THE BREWER - Plastic-free.
Choose your color and give your coffee machine an upgrade from the comfort of your home.
PREMIUM MATERIALS: Made with durable automotive quality vinyl that will withstand daily use. You can imagine that since the material is designed to withstand the road and debris, even at 80MPH, it will last a lifetime in your kitchen!
HOW TO APPLY: Wipe the surface of your brewer clean and dry, especially removing grease and residue prior to applying the DIY wrap. Peel the protective backing revealing the sticky side and match the square hole for the switches carefully aligning the bottom with the bottom of the brewer tower. Apply the vinyl slowly, forcing the air out, moving from the bottom to the top, and then do the sides and the back. There is a special Grommet that fits neatly around the switches, and you are done. There is no cutting, no water and there are complete instructions included, here:
Wrap - Installation Instructions